-
Posts
317 -
Joined
-
Last visited
Content Type
Profiles
Forums
Events
Gallery
Store
Everything posted by sstout
-

Mexico 7/31
sstout replied to Badasstransam's topic in New York Fishing Reports - Lake Ontario (South Shore)
-

Mexico 7/31
sstout replied to Badasstransam's topic in New York Fishing Reports - Lake Ontario (South Shore)
-
I went out of Myers this morning. The water was good in most spots. There was a scum line with debris when I got closer to being across from taughannock. Above that the water was muddy for a while but then cleared up. Overall the clarity was pretty good
-
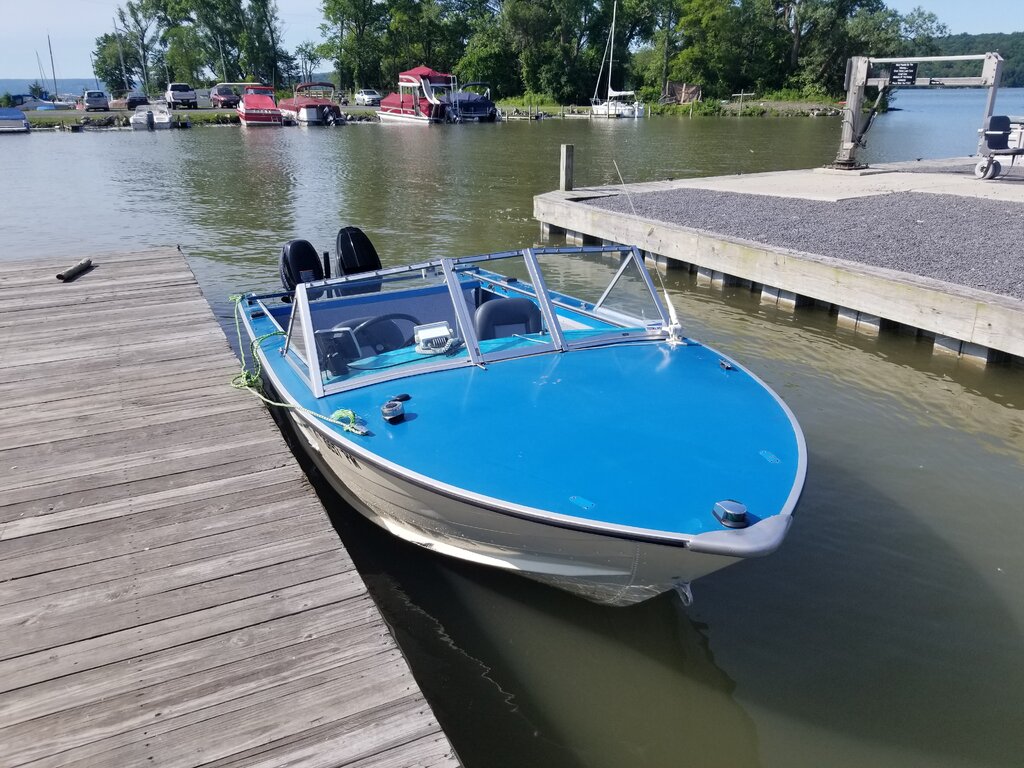
Went for a shakedown run as the sun was rising this morning in cayuga. Just finished gutting and rebuilding my boat. Everything went well with the boat, no issues now that I sealed a couple leaks. Spent some time trolling through bait balls north of myers and ended up with two decent sized Lakers. Both lived to fight another day. Not bad for not fishing real hard. Beautiful sunrise. There is alot of debris in the water including one full log that was easily 20 ft. Be careful if your up on plain.
- 1 reply
-
- 2
-

-
-
Smat64, thanks for the offer. I think that'll be the route I take if the jb weld patch doesn't hold. I'll see what happens in the next few months. Thanks to everyone for the ideas on the leak. I'm glad to have finally found it
-
Well, I found the leak tonight. My dumb a** drilled a 3/16 inch hole through the boat when I riveted the floor down. I put a patch of jb water weld over it for bow and its holding. Now I've gotta find a more permanent fix. It's near the back of the boat so shouldn't take any pounding from waves. Atleast I found it, all though I am not happy with myself right now haha. I've got a buddy with a welding shop. Maybe he can patch it
-
My concern is that it is what HB2 is talking about. There's seems to be some sort of rubber in the seam from the factory where the transom aluminum meets the floor aluminum down by the drain plug. Anyone have any ideas to fix or seal this riveted seam?
-
There's no leaks from the splashwell down into the bilge. When I rebuilt the transom last year I sealed that very well and don't see any coming in. Thanks everyone for the ideas. I'll keep you posted how the next water test goes.
-
The bilge exits near the top of the hull in the back on the left side. It is just a manual switch that I pull every so often. The more I think about it, i think the water might be coming through the bolts that hold the power trim on. They go through the hull up a little higher. When the floor was out, the bottom bolt most likely wasnt under water. Now with more weight it is. I'll seal it up good and see. I definitely think the leak is coming from the transom area
-
All good points. It's an outboard. Boats never had any live wells in it. It's a 1975 starcraft, so very basic hull. It's getting about the same water coming in whether sitting still or moving. The more I think about it is coming through the bolts in the transom. The boat was halfway on the trailer the second time I was noticing it was leaking and the bow was out of the water. Hopefully Tuesday night I can splash it again now that the transom is sealed more to see
-
Yeah. I replaced the transom last year. I found 5 leaky rivets, re set them and then applied 2 coats of gluvit over all the rivets. The boat sitting lower in the water is a good idea. When I took it out to test it had no floor, 1 battery, and 1 gas tank. Now it's got the floor, vinyl, seats, 2 batterys, and 3 gas tanks. Hopefully some 5200 is the answer. Thanks for the info. I like the wooden down idea
-
It's not the live well. There's no livewell on the boat. I'm thinking it's some of the bolts through the transom. The previous owner had trim tabs and a couple other things that are now removed. I had them sealed but not with 5200. They are sealed good now. I just don't think after 2 coats of gluvit it's coming from the rivets. Hopefully Wednesday night I'll test that theory. I really don't want to rip the floor I just finished back up.
-
Hi everyone, so you may have seen my build with gutting my boat and building it all back up again. Well, I took it to the lake for the first time since finishing it this morning. It leaked like it's never leaked before. Holy crap. The rivets are coated in gluvit. I had it on the water without the floor in and it didn't leak. Now its finished and I could pump the bilge pump every 10 mins. I tried 2 different drain plugs, that didn't help. I filled the bottom of the boat with water from the hose and there's no obvious sign of leaks. This afternoon I re-sealed all the bolts through the transom both outside and in with 5200. Is there anything you guys. Can think of that would make it do this? It's kind of disheartening to finish a build and the boat leaks worse than when you started. Grr. I appreciate any advice.
-
-
-
Thank you everyone for the kind words. I really enjoyed this project. I have never done any apholstry or layed vinyl before but have alot of other skills. I learned alot very quickly, but it came out great. Now if the wife would let me buy another boat to do this too, I'd do it again in a heartbeat. Not likely though haha
-
-
Over the past few days, I got the other side panel covered in vinyl. I also picked up the seats and pedestals. My mom is a great seamstress. I convinced her to do the sewing and stitching on the vinyl for the back curtain that hides the batteries and gas tanks. She did great, it turned out really nice. I still have to install the vinyl in the storage pockets on the sides. I'm toying with the blue or the gray. I just have to install the side panels and screw the seats down after mounting the vinyl in the pockets. My hope is to have it all finished this weekend. The finish line is in sight.
-
I ordered the vinyl from defender marine online. Its nautolex vinyl. I chose the color and the length and they cut it. It's sold by the yard. I ordered enough to do the floor, side panels, and drop panel in the back. I ordered 10 yards, so 30 ft. It was rolled and shipped very nicely. Shipping wasnt to bad of a price for how big the box was with the role inside. The vinyl is 7 ft wide so it was a big box haha
-
And then stuck the two together. Then using an air nailer worked my way around the back stapling it. For my first time ever doing this I'd say it came out pretty good. The finish line is close. So far I'm loving how it's coming out. I took some before and after pics of the side panels. Sorry for the double post. I hit save too soon.
-
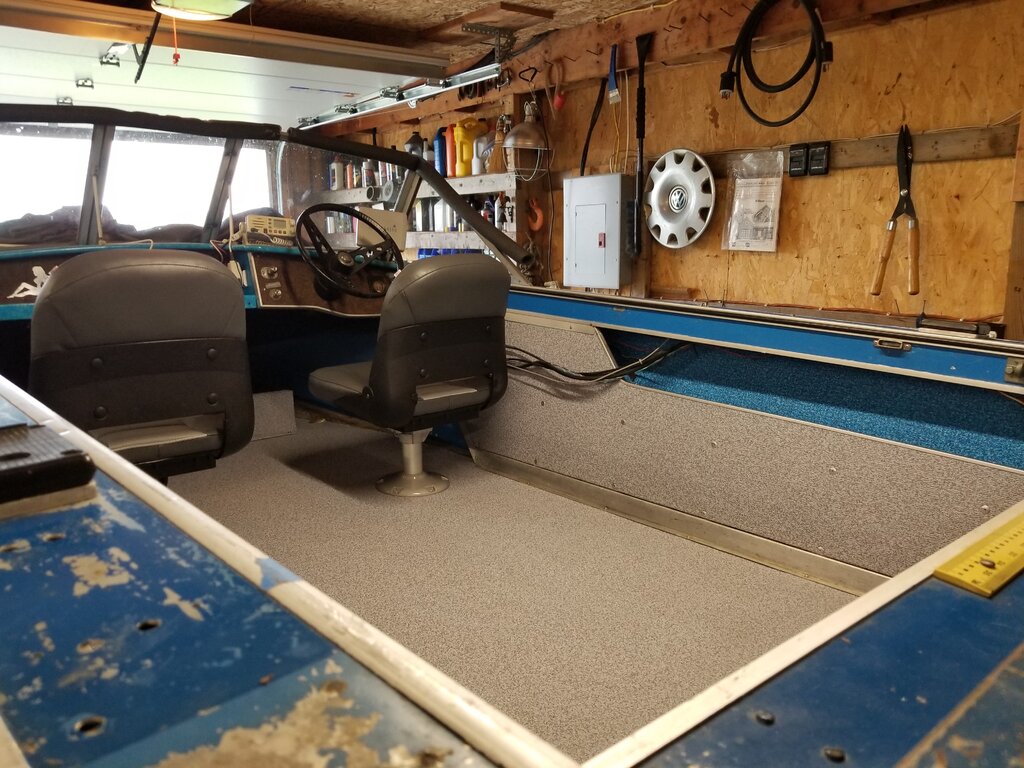
Today I got the rest of the vinyl on the floor glued down. I also got one of the side panels all finished. I stripped off the old white vinyl and used it for a pattern. Instead of using the nautolex 88 adhesive like on the floor I used 3m spray adhesive. It worked really well. I covered both the wood and the back side of the vinyl with the spray adhesive, waited for it to tack up
-
I was able to get a few more hours in today. I started by using a thick plastic drop sheet to cut into a template for the vinyl. Once I had the plastic marked I cut it out and test fit it. It was close enough. Then I layed my "template" onto the vinyl and cut it out. I cut about an inch too big to leave some leeway while fitting the vinyl. I then layed the vinyl in and trimmed off the access with a utility knife. Then layed down two sections of glue. Overall I have the back half glued down. I'm hoping to get the rest glued down on sunday. Nautolex vinyl is really nice.
-
When I tore out the original floor it was 1/2 inch. So that's what I replaced it with. It's 1/2 inch marine ply coated top and bottom with epoxy. With it all riveted in the 1/2 is solid. The boats not that big so I was worried about the extra weight and fitment of going with 3/4 inch. That's why I decided to stick with what the original floors thickness was.
-
Made more progress today. I got the floor riveted in and a coat of epoxy on top. I baught an air riveter from harbor freight. Very happy with it, and was happy to not hand pull all of the rivets to put the floor in. The vinyl came in and looks really nice. I went with nautolex storm gray color. It looks like it should hold up well.


